
In This Article
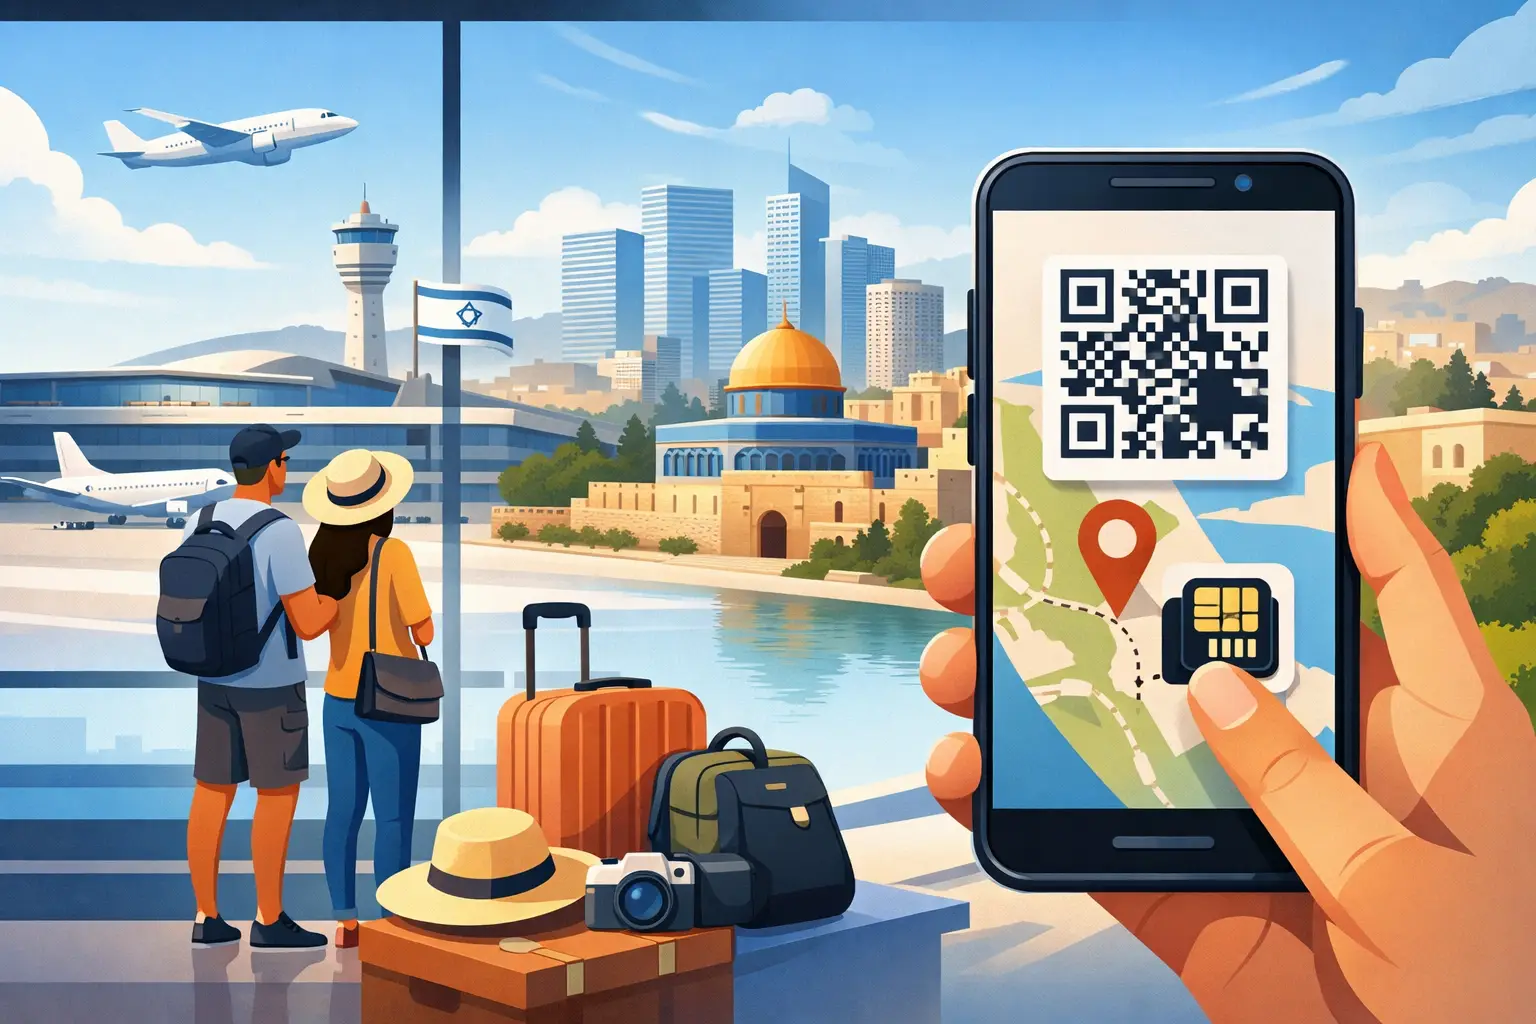
Landing at Ben Gurion with no maps, no ride app, and no way to message your hotel is an avoidable travel problem. When you activate travel eSIM on Android before departure, your phone can be ready to connect shortly after you arrive in Israel - without airport SIM shopping or unexpected roaming charges.
The process is usually quick, but a few Android settings make the difference between an eSIM that is installed and one that is actually ready to use. Follow the steps below, keep your existing number active if you need it, and make your travel eSIM the line your phone uses for data in Israel.
Before You Activate a Travel eSIM on Android
First, confirm that your Android phone supports eSIM technology and is carrier-unlocked. Most recent Google Pixel, Samsung Galaxy, Motorola, and other premium Android models support eSIM, but availability can vary by model, country of purchase, and carrier version.
An unlocked phone matters. If your device is still restricted to a home carrier, it may reject a travel eSIM even when the phone itself supports eSIM. If you are unsure, check your phone settings or ask your current carrier before purchasing.
You will also need a reliable Wi-Fi connection when you install the eSIM. The QR code downloads a digital cellular profile to your phone, so do not wait until you have already left home and no longer have internet access. Installing before departure is the safer choice.
If you use two phone numbers, decide how you want each line to work. Your regular SIM or eSIM can remain enabled for calls and messages from home, while the Israel travel eSIM handles mobile data. This setup helps you stay reachable without using expensive international data roaming on your primary line.
How to Install and Activate Your eSIM
After buying a prepaid Israel eSIM, you will typically receive a QR code and activation details by email. Keep that email open on a second device, print the QR code, or save it somewhere you can access without needing mobile data on the phone you are setting up.
Android menus differ slightly between manufacturers, but the path is generally similar.
Add the eSIM profile
Open Settings, then look for Network & internet, Connections, or SIM manager. Choose Add SIM, Add eSIM, or Add mobile plan. Your phone may show an option to scan a QR code.
Scan the QR code supplied with your plan. If scanning is unavailable or the code does not work, select the manual-entry option and enter the activation information exactly as provided. Do not try to scan the same code repeatedly after an installation begins. Give the phone a moment to download the profile.
When Android asks you to name the new line, choose a label you will recognize immediately, such as “Israel eSIM” or “Travel Data.” That small step makes it much easier to select the correct line later, especially if your phone has a physical SIM and more than one eSIM profile.
Keep the new line turned on
Once the profile is added, go back to your SIM or mobile network settings. Confirm that the Israel eSIM is switched on. An eSIM can be installed but disabled, which means it will not connect when you land.
You may see a prompt asking whether to use the new line for calls, text messages, or mobile data. The best choice depends on your plan. If your travel plan includes a real Israeli +972 number, local calls, and SMS, you may want to select it for calls and texts while in Israel. If you only want the eSIM for data, keep your normal line as the default for calls and messages and select the travel line for mobile data.
Set the travel eSIM as your mobile data line
This is the setting travelers miss most often. In your Android SIM settings, select the Israel eSIM as the preferred line for Mobile data. Then turn off mobile data switching or automatic data switching if your phone offers that setting.
Automatic switching can cause your phone to fall back to your home line when a signal is weak, which may trigger roaming charges. Keeping the travel eSIM as the dedicated data line gives you more control.
Next, open the travel eSIM settings and turn on Data roaming for that line if your provider instructs you to do so. This setting can sound counterintuitive, but many travel eSIMs use it to access their local network arrangement. Data roaming should stay off on your home line unless you intentionally want to use your carrier’s international service.
When Should You Turn It On?
Install the eSIM before your flight, but follow the plan instructions on when service begins. Some prepaid plans start when the eSIM first connects to a local Israeli network. Others may begin as soon as installation is completed. The activation email for your specific plan is the source to follow.
If your plan starts on first network connection, keep the eSIM enabled and set as your data line before you leave. After landing in Israel, turn off Airplane Mode, wait a few minutes, and your phone should search for an available local network.
A restart can help if the signal does not appear right away. You can also open your travel eSIM settings and make sure network selection is set to automatic. Avoid manually choosing a network unless your activation instructions specifically tell you to do so.
Check Your Connection After Landing
Once your Android phone shows cellular bars for the travel line, test the connection with a simple task. Open a map, send a WhatsApp message, or load a web page with Wi-Fi turned off. If it works, your data setup is complete.
If your plan includes a local Israeli phone number, make a quick call or send a text if you need to verify those features too. Having a +972 number can be useful for communicating with local hosts, drivers, restaurants, and service providers that prefer an Israeli contact number.
With eSIM Israel, eligible prepaid plans may include high-speed 4G or 5G data, hotspot use, local calls, SMS, and a real Israeli number, depending on the plan selected. Network availability and speeds can vary by location, device, network conditions, and coverage area, so your phone may switch between 4G and 5G during your trip.
If Your Android eSIM Will Not Connect
Most connection issues come down to a small setting, not a failed eSIM. Start by confirming that the travel eSIM is enabled, selected for mobile data, and allowed to use data roaming. Also verify that your home SIM is not being used for data through an automatic switching setting.
If those settings are correct, toggle Airplane Mode on for about 10 seconds and turn it off again. Restarting the phone is the next sensible step. Give the device a few minutes to register on the local network after restarting.
You should also check whether an APN needs to be entered manually. Many eSIMs configure this automatically, but your provider’s setup instructions will tell you if a manual APN is required. Do not delete the eSIM profile as an early troubleshooting step. QR codes are often designed for one-time installation, and deleting a working profile can create an unnecessary support issue.
If you are still unable to connect, use Wi-Fi to review the original activation email and confirm that you followed the instructions for your specific plan. Screenshots of your SIM settings, signal display, and any error message can make support much faster.
A Few Settings Worth Checking Before You Fly
Turn off data roaming on your home line, and leave it on only for the travel eSIM when required. Download offline maps for your arrival route, save your hotel address, and make sure your phone is updated before installation. If you expect to share data with a laptop or another phone, confirm that your selected plan supports hotspot use and test the setting before you need it.
It is also smart to keep your QR code and plan details in your email and in a secure offline location. You probably will not need them after setup, but they are useful if you change phones, reset settings, or need to confirm plan information.
A travel eSIM works best when it is set up while you still have time and Wi-Fi. Handle the installation before departure, choose the correct data line, and your Android can be ready for the practical moments that start the trip - the map from the airport, the first local call, and the message that says you have arrived.
eSIM Israel Team
Last updated