
In This Article
Your first need after landing at Ben Gurion is rarely a souvenir or a taxi receipt. It is connection. With QR code eSIM activation in Israel, you can install a prepaid mobile plan before departure and have the details ready when your phone reaches the local network. No airport SIM counter, no tiny card to swap, and no contract paperwork.
For travelers who need maps, ride apps, family messages, work email, or access to services that use a local number, the setup takes only a few careful steps. The key is knowing when to scan the QR code, how to configure your phone, and what to check if the signal does not appear immediately.
What a QR Code Does for Your Israel eSIM
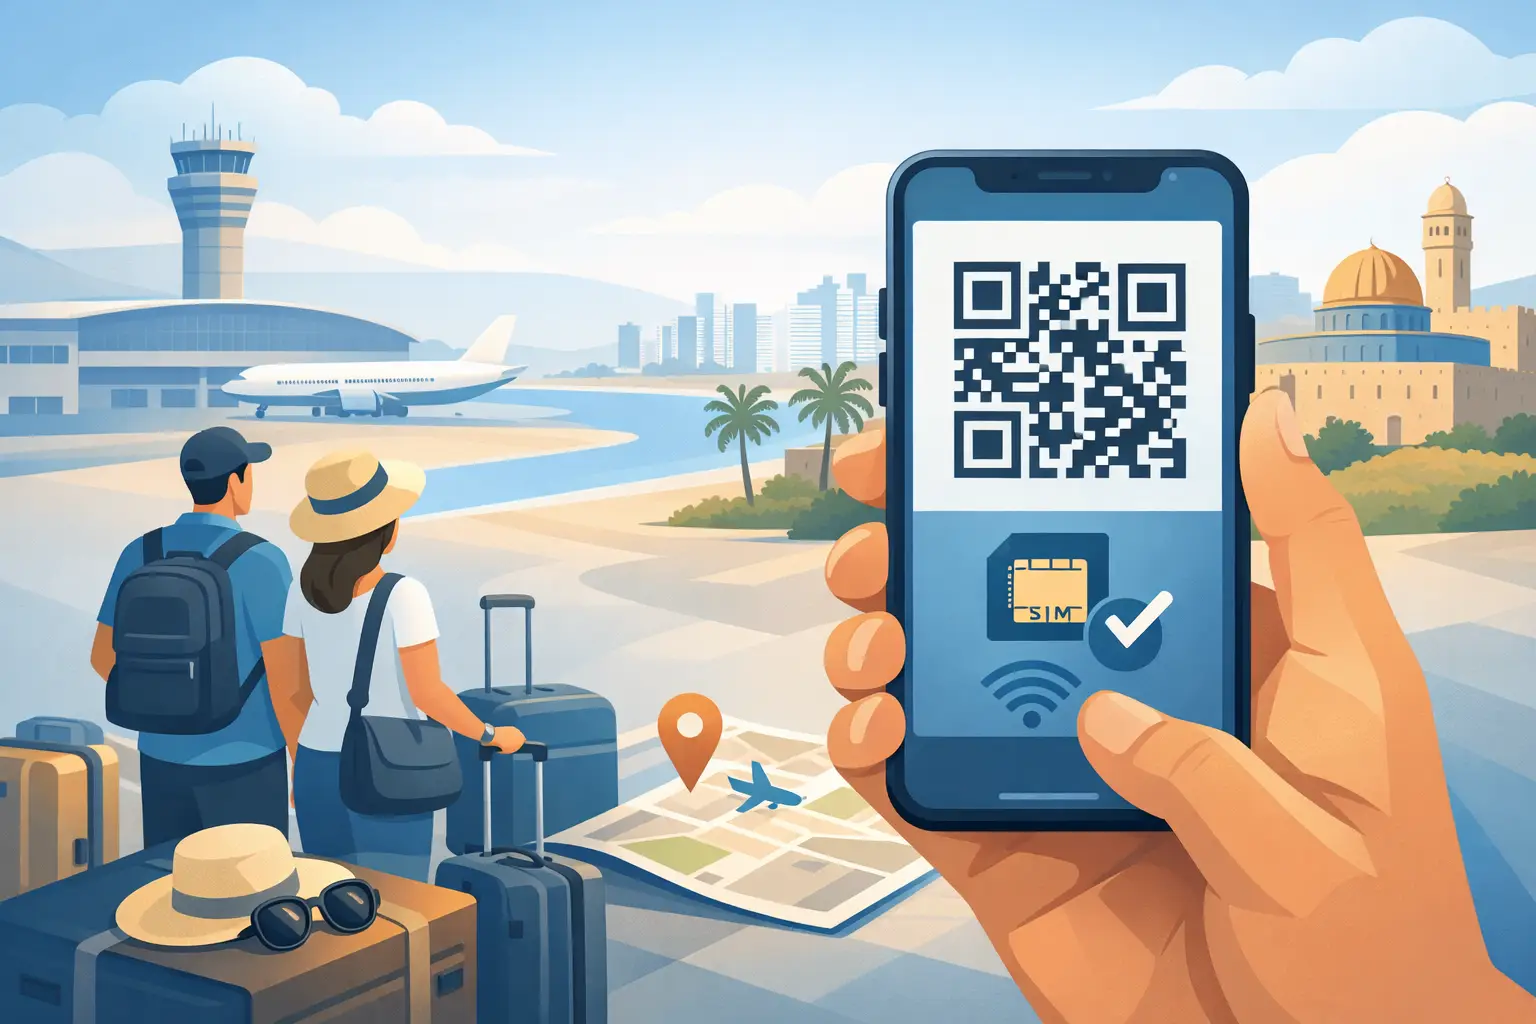
An eSIM is a digital SIM profile built into compatible smartphones. After you purchase a prepaid Israel plan, you receive activation details, often including a QR code. Scanning it tells your phone to download and add the mobile plan.
The QR code is not your data connection by itself. It is the secure installation method for the eSIM profile. Once the profile is installed, your phone can connect to the Israeli network when the plan is active and your settings are correct.
This matters because installation and network use are separate moments. Many travelers install their eSIM at home over reliable Wi-Fi, then turn on the new line after they arrive in Israel. That approach gives you time to read each screen without using airport Wi-Fi or paying international roaming rates.
Depending on the plan you select, your eSIM may include high-speed 4G or 5G data where available, hotspot use, local calls, SMS, and a real Israeli +972 number. Check the plan details before purchasing, since allowances and included features vary.
Before You Scan the QR Code
A smooth activation starts with three checks: phone compatibility, internet access for installation, and your device's SIM settings.
First, confirm that your phone supports eSIM technology and is unlocked. Most recent iPhones, Google Pixel models, and many Samsung Galaxy devices support eSIM, but availability can differ by model, country of purchase, and carrier restrictions. An unlocked phone is essential because a carrier-locked device may reject a prepaid eSIM from another provider.
Next, use stable Wi-Fi when adding the plan. Downloading the eSIM profile needs an internet connection. Your home Wi-Fi is usually the easiest option, although a hotel Wi-Fi network can work if you are already traveling. Do not wait until you are standing outside the airport with a weak signal and a low battery.
Finally, update your phone if an update is pending and make sure you have room for another cellular plan. Some phones have limits on how many eSIM profiles can be stored, even if only one or two can be active at a time. If your device is full, remove an old travel eSIM that you no longer need before scanning the new code.
How QR Code eSIM Activation in Israel Works
The exact menus differ slightly by phone, but the process is straightforward. Keep the QR code open on a second device, printed page, or computer screen. Most phones cannot scan a QR code displayed on their own screen without an alternate setup method.
On iPhone
Open Settings, select Cellular or Mobile Data, then choose Add eSIM. Select Use QR Code and scan the code supplied with your plan. Follow the prompts to add the cellular plan.
Your iPhone will ask you to label the line. Choose a clear name such as “Israel eSIM” so you can identify it later. During setup, you may also be asked which line should handle calls, messages, and mobile data. Keep your usual line selected for iMessage or personal calls if needed, but set the Israel eSIM as your cellular data line once you arrive.
On Android
On many Android devices, open Settings, then Network & Internet, Connections, or SIM Manager. Look for Add eSIM, Add Mobile Plan, or Download a SIM instead. Scan the QR code and follow the on-screen instructions.
Samsung, Pixel, and other Android menus use different names, so do not worry if the wording is not identical. The action you need is always similar: add a new mobile plan using a QR code. Label the new line clearly after it downloads.
Finish the Setup Carefully
After installation, leave the eSIM profile on your device. Do not delete it just because you cannot see service before your travel date. Some prepaid plans are designed to connect only after you arrive in Israel or after the selected activation date.
When you land, turn on the Israel eSIM line, set it as the mobile data line, and enable data roaming on that eSIM if your provider's instructions require it. Data roaming on the travel eSIM does not mean your home carrier is being used. It simply allows the eSIM to connect under the network arrangement for your selected plan. To avoid charges from your regular carrier, turn off data roaming on your primary line.
Settings That Prevent Surprise Charges
The safest setup is to keep your home SIM active only for calls or texts you genuinely need, while assigning mobile data to the Israel eSIM. If you do not need your home line at all during the trip, turn it off.
Also check your phone's cellular data switching setting. On some iPhones, “Allow Cellular Data Switching” lets the device fall back to another line when the selected data line has weak service. Turn this off if you want to prevent your phone from using your home carrier's roaming data.
If your plan includes a real +972 number, use that number where a local contact number is useful. It can be practical for restaurant confirmations, deliveries, local calls, and receiving SMS messages. Still, verify the plan's calling and SMS allowances before relying on them for high-volume use.
Hotspot capability is another feature worth confirming before your trip. If included with your plan, it lets you share your connection with a laptop or another device. Hotspot use can consume data quickly, especially during video calls, cloud backups, or software updates.
If the QR Code Will Not Scan or Connect
Most activation issues have a simple cause. Start by checking whether the QR code has already been used. Many eSIM QR codes are designed for one installation only. Repeated scans may fail after the profile has been added.
If scanning fails the first time, improve the conditions before trying again. Brighten the screen showing the code, clean your camera lens, and make sure the entire code is visible. You may also have manual activation details, such as an SM-DP+ address and activation code, which can be entered through the same Add eSIM menu.
If the eSIM installs but you have no service after arriving, turn Airplane Mode on for about 30 seconds and then turn it off. Confirm that the Israel eSIM is enabled, selected for mobile data, and allowed to use data roaming if instructed. Restarting the phone can also prompt it to register on the network.
Avoid deleting the eSIM as a first troubleshooting step. Deleting it can remove the installed profile and may require a new activation code. Check the instructions provided with your plan before making major changes.
Install Before You Fly, Connect When You Land
The best time to handle eSIM setup is before your trip, when you have Wi-Fi, charger access, and time to confirm the settings. Save the activation email and QR code somewhere you can access without depending on mobile data. A screenshot stored securely on a second device can be useful, but treat it like account information and do not share it publicly.
eSIM Israel is built for this practical travel routine: choose a prepaid plan that fits your stay, install it ahead of time, and use local mobile service when you arrive. Whether your itinerary includes Tel Aviv meetings, Jerusalem sightseeing, family visits, or a drive toward the Dead Sea, getting your mobile plan ready before departure removes one more task from arrival day.
Set up your QR code eSIM while you are still on familiar Wi-Fi, keep your home-data settings under control, and let your phone be ready for the first message, map search, or local call you need in Israel.
eSIM Israel Team
Last updated