
In This Article
You have landed at Ben Gurion, switched off airplane mode, and need maps, messages, and a ride within minutes. That is why travelers choose to scan an eSIM QR code before departure: your prepaid mobile plan can be installed while you still have reliable Wi-Fi, leaving less to manage when you arrive in Israel.
A QR code is simply the secure installation key for your eSIM plan. It adds a digital mobile line to a compatible phone without inserting anything into the device. The process takes only a few minutes when you prepare correctly, but timing matters. Install the eSIM before travel if possible, then follow the activation instructions for your specific plan so the line connects at the right time.
Before You Scan an eSIM QR Code
Start with two checks. First, confirm that your phone supports eSIM and is carrier-unlocked. Most recent iPhones, Google Pixel phones, and many Samsung Galaxy models support eSIM, but availability can vary by model, country of purchase, and carrier restrictions. A phone that accepts eSIM is not always unlocked for another network.
Second, make sure you have a stable Wi-Fi connection. Downloading an eSIM profile requires internet access. You will also need the QR code supplied after purchase, usually shown on a confirmation page or delivered by email along with any plan-specific activation details.
Do not delete the QR code email once installation is complete. Keep it available until you have arrived and confirmed that your service is working. It is also smart to save your order details separately in case you need support while traveling.
One practical detail catches people out: a phone cannot scan a QR code displayed on its own screen. If the code was emailed to the same device where you are installing the eSIM, open it on a laptop, tablet, or another phone. If that is not possible, use the manual activation details provided with your plan, if available, instead of trying to photograph the screen.
How to Scan an eSIM QR Code on iPhone
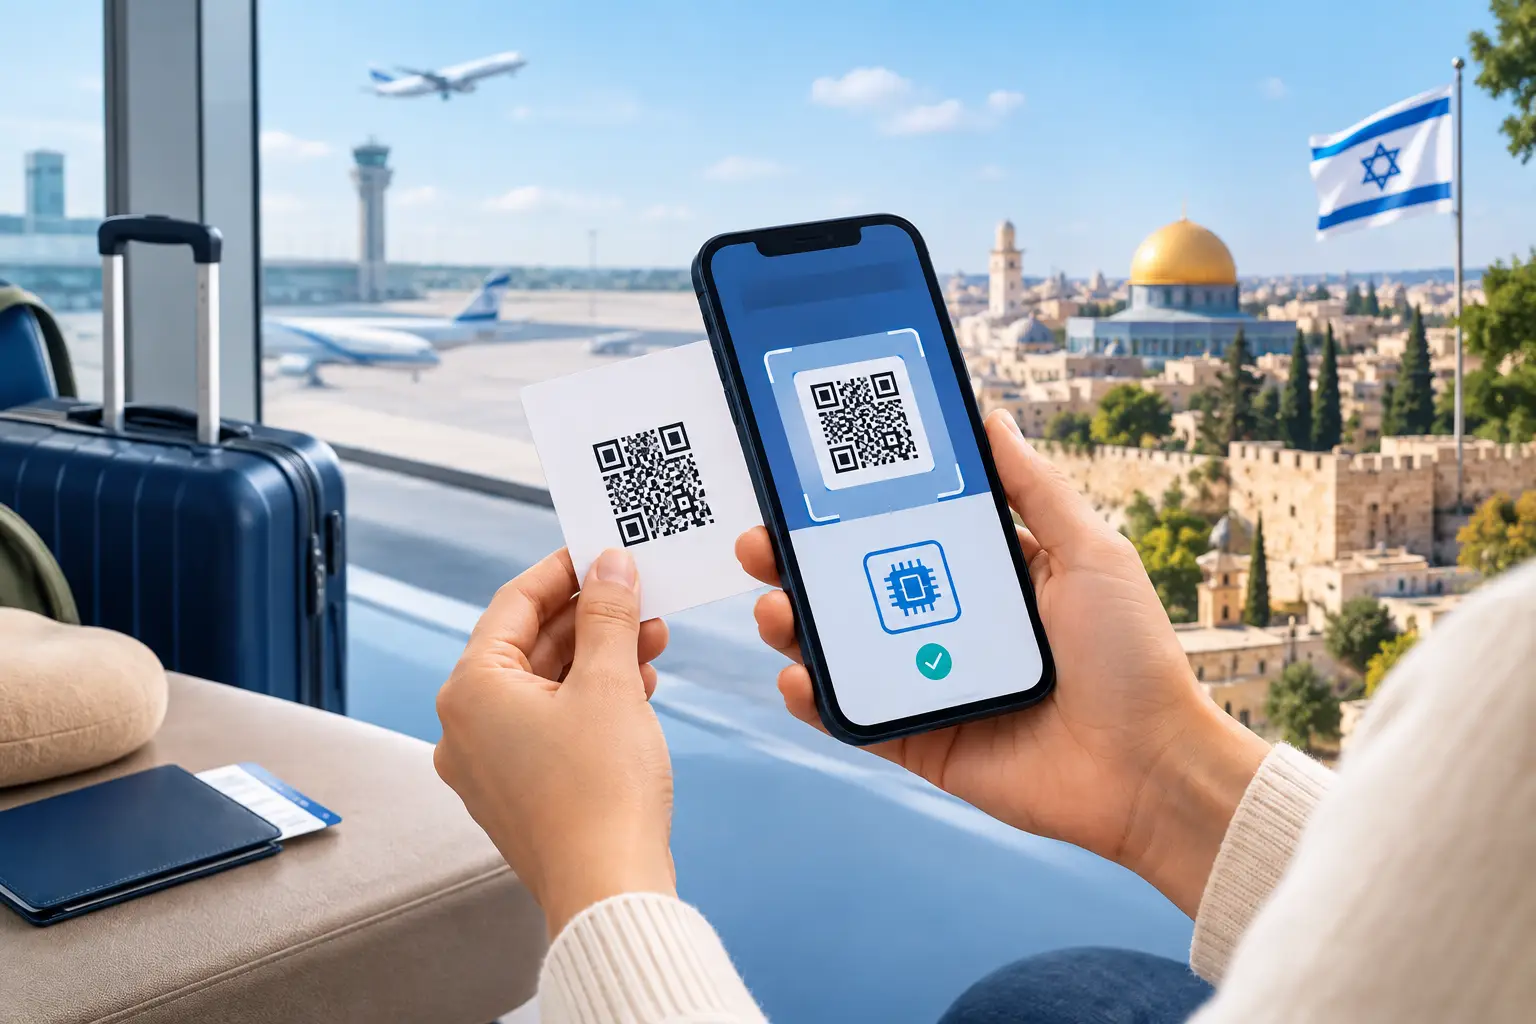
On an iPhone, open Settings, then tap Cellular or Mobile Data. Select Add eSIM, then choose Use QR Code. Point the camera at the code and wait for the phone to recognize the plan.
Your iPhone may ask you to confirm adding the cellular plan, name the line, and choose how it should be used. Give it a clear label such as “Israel Travel” so you can recognize it later. You can keep your usual line on the phone while adding a second eSIM, provided your device supports dual SIM use.
During setup, your phone may ask which line should handle calls, messages, and mobile data. For a travel eSIM with a real Israeli +972 number, select the new line for the services included in your plan. Keep your home line turned off for cellular data if you want to avoid accidental roaming charges. You can still use Wi-Fi calling or messaging apps on your usual number when Wi-Fi is available, depending on your home carrier settings.
How to Scan an eSIM QR Code on Android
Android menus vary by manufacturer, but the path is similar. On many Samsung Galaxy phones, open Settings, tap Connections, select SIM manager, then choose Add eSIM. Select the option to scan a QR code from your service provider and use the camera to scan it.
On Google Pixel devices, open Settings, tap Network & internet, then SIMs. Choose Add SIM and follow the prompts to download an eSIM using a QR code. Other Android phones may place the setting under Mobile Network, Cellular Network, or SIM Cards.
Once the profile has downloaded, name the line and review your defaults for data, calls, and texts. The names differ, but the goal is the same: set the Israel eSIM as the mobile-data line when you are ready to use it. If your plan includes local calls and SMS, make sure the new line is enabled for those features as well.
Choose the Right Time to Activate It
Installation and activation are related, but they are not always identical. Installing the eSIM adds the plan to your phone. Activation is when the line begins connecting to the Israeli network and the plan period may begin. Your purchase instructions should tell you whether to install the eSIM before you fly, activate it on arrival, or complete a final setting after landing.
For most travelers, installing over Wi-Fi before departure is the lowest-stress option. Then, once you land in Israel, turn on the eSIM line, set it as your mobile-data line, and disable data roaming on your home line. If your plan instructions require data roaming to be enabled on the travel eSIM, enable it only on that line. This can be normal for some travel network configurations and does not mean you are using your home carrier’s roaming service.
Allow a few minutes after landing for the phone to register on a local network. A quick restart or toggling airplane mode on and off can help the device reconnect. Availability can vary by location, device, local network conditions, and plan, so avoid judging service while still inside the aircraft or in an underground area.
If the QR Code Will Not Scan
A QR code failure is usually a setup issue, not a sign that your plan is unusable. First, clean the camera lens and increase the brightness on the screen displaying the code. Make sure the full code is visible, not cropped, blurred, or shown in a low-resolution screenshot.
If the camera still does not recognize it, check whether your phone is already connected to Wi-Fi and whether eSIM installation is supported on that device. Some phones cannot add an eSIM while a device-management setting or carrier lock is in place. A restart can also clear a stalled setup screen.
Avoid scanning the same code repeatedly after an installation appears to have started. Many eSIM QR codes are designed for one installation. If the phone says the plan has already been added, look under Cellular, Mobile Data, SIM Manager, or SIMs before trying again. The eSIM may be installed but turned off.
When manual installation details are provided, enter them exactly as supplied. Do not guess an activation code or APN setting. If you are unsure whether the eSIM has been installed, take a screenshot of the error message and contact the provider before deleting anything from your phone.
Settings to Check After Arrival
Once you are in Israel, open your phone’s cellular settings and confirm that the eSIM line is switched on. Select it for mobile data, then check that cellular data is enabled. If you need a local number for restaurant bookings, delivery updates, business contacts, or account verification, confirm that calls and SMS are assigned to the Israeli line where your selected plan includes them.
Hotspot use is also worth checking before you need it. If your plan supports personal hotspot, turn it on and connect another device briefly. This is useful for a laptop during a work trip or for sharing data with a travel companion. Hotspot performance depends on signal strength, the connected device, and how much data your plan includes.
With eSIM Israel, eligible prepaid tourist plans are designed for visitors who want local data and practical features such as a real Israeli number, calls, SMS, and hotspot support, depending on the plan selected. Review the specific plan details before purchase so your allowance and included services match how you will travel.
Common Questions About eSIM QR Code Setup
Can I scan the QR code before I travel?
Usually, yes, and it is often the best approach. Install it while you have dependable Wi-Fi, then follow the activation timing in your plan instructions. Do not assume every plan starts its validity period at installation, because activation policies can differ.
Do I need to remove my regular SIM?
No. An eSIM is digital, so there is nothing to remove. Many compatible phones can keep a home line and an Israel eSIM active together. The key is choosing the correct line for mobile data and preventing your home line from using roaming data.
Why does my phone show no service right away?
It may still be registering after landing, or the eSIM line may not be selected for data. Check that the line is enabled, airplane mode is off, and your phone has been restarted if needed. If the issue continues, review the setup instructions before changing advanced network settings.
Can I scan the code again after deleting the eSIM?
Do not count on it. Some QR codes can only be used once. Deleting an eSIM can make reinstallation more difficult, so contact support first if you are considering removing the line.
Set up your eSIM while you have time, Wi-Fi, and your confirmation details in front of you. Then you can step off the plane focused on your trip, not on finding a mobile store or untangling roaming settings.
eSIM Israel Team
Last updated